
The body
1. Physical preparation and acclimatisation
When you plan a mountain hike, preparing properly is critical for avoiding risk and getting the most out of the day. A few key points to keep in mind:
- Training and physical prep:
Before taking on a hike with serious elevation gain, make sure you’re in good shape. Don’t launch into a 1500-metre climb without adequate training. Physical prep is essential to avoid exhaustion and injury.
- Altitude acclimatisation:
Acclimatisation is fundamental when you go high. Summits above 3000 metres have less oxygen, which makes breathing harder. To avoid altitude sickness, start at moderate elevations and progress slowly. Try sleeping at altitude (in refuges or bivouacs) to help your body adjust. Generally, acclimatisation kicks in when you climb 1000 to 2000 metres above your comfort altitude.
- Managing elevation and distance:
A 1000-metre climb is already a serious test for many. Don’t forget that the descent can be as tiring as the climb. Fatigue built up on the way up makes the descent difficult, and mountain accidents often happen in this phase. Plan for breaks and stay aware of muscle fatigue.
Calculating km-effort: to better judge the real difficulty of a hike, the “km-effort” concept comes in handy. Rather than looking at distance or elevation separately, it combines both. A simple rule: add 1 km for every 100 metres of positive elevation. A 10 km hike with 1000 m of gain therefore equals 10 + (1000 / 100) = 20 km-effort. It lets you compare flat routes and mountain routes more fairly, and plan your time, energy and food accordingly. A great tool for anticipating fatigue and avoiding overestimating your abilities.
- Route length:
The total length of the hike matters too. Beyond 20 kilometres in the mountains, the route can get very demanding. Factor in the ratio between length and elevation to estimate overall difficulty. A long hike with serious elevation can be particularly brutal.
- Safety and preparation:
- Gear: always carry clothing suited to weather conditions, sturdy hiking boots, trekking poles, and a first-aid kit.
- Navigation: use maps, a compass, and an altimeter. A GPS device is useful but shouldn’t be your only navigation tool.
- Food and hydration: make sure you carry enough food and water. Altitude and physical effort raise hydration and calorie needs.
Summing up
Following these pointers will help you prepare effectively for mountain hikes and make the experience safer and more enjoyable. Enjoy every moment up high, while respecting your body’s limits and taking the steps needed to avoid accidents.
Reading a hike sheet
2. Understanding ratings
Every alpine hike starts with reading a sheet. On Hiking3000, each outing is graded using the FFRandonnée system: three independent criteria, effort, technical difficulty, risk, each scored 1 to 5. An E4/T3/R2 doesn't read the same as an E2/T4/R4, even if the average is identical.
The classic beginner trap: confusing "physical difficulty" with "commitment". A hike can be easy to do but severely exposed on one section, and vice versa.
Equipment
3. Essential gear
The right gear isn't the most expensive or the most technical, it's the one that matches the planned outing. For a 3000m hike: high-cut boots with a rigid sole, 3-layer system (technical base layer, fleece, waterproof shell), 25-35L pack with hip belt, water reserve, food, map/compass, headtorch, first-aid kit, survival blanket.
Seasonal additions: light crampons and ice axe if residual snowfield, glacier glasses in summer above 2500m, leather gloves for rocky sections.
Before leaving
4. Reading mountain weather
Mountain weather shifts fast and differs greatly from valley weather. Three sources to cross-check: Meteoblue (embedded on every hike article, very precise per aspect), Meteociel (detailed models) and the local tourist office bulletins (field knowledge).
Signals that matter: 0°C isotherm, high-altitude wind, thunderstorm probability, residual snow presence. A storm forecast for the afternoon demands a dawn start and a valley retreat before noon.
Finding your path
5. Navigating and finding your way
Navigation, a critical point
When you tackle Hiking3000 routes, keep in mind that we don’t always stay on wide, well-marked GR-style paths. You’ll often have to navigate off-trail, on less visible paths, especially in the Pyrenees and Ariège.
For that, it’s essential to have several navigation solutions. Despite tech advances with dedicated GPS units, GPS watches, and mobile apps with IGN maps, the traditional trio “IGN 1:25000 map, altimeter and compass” remains essential.
Anyone heading into the mountains should carry at least one navigation system. Even on well-marked paths, you’re not safe from weather surprises, and if you get caught in thick fog, you’ll be very glad you brought it along.
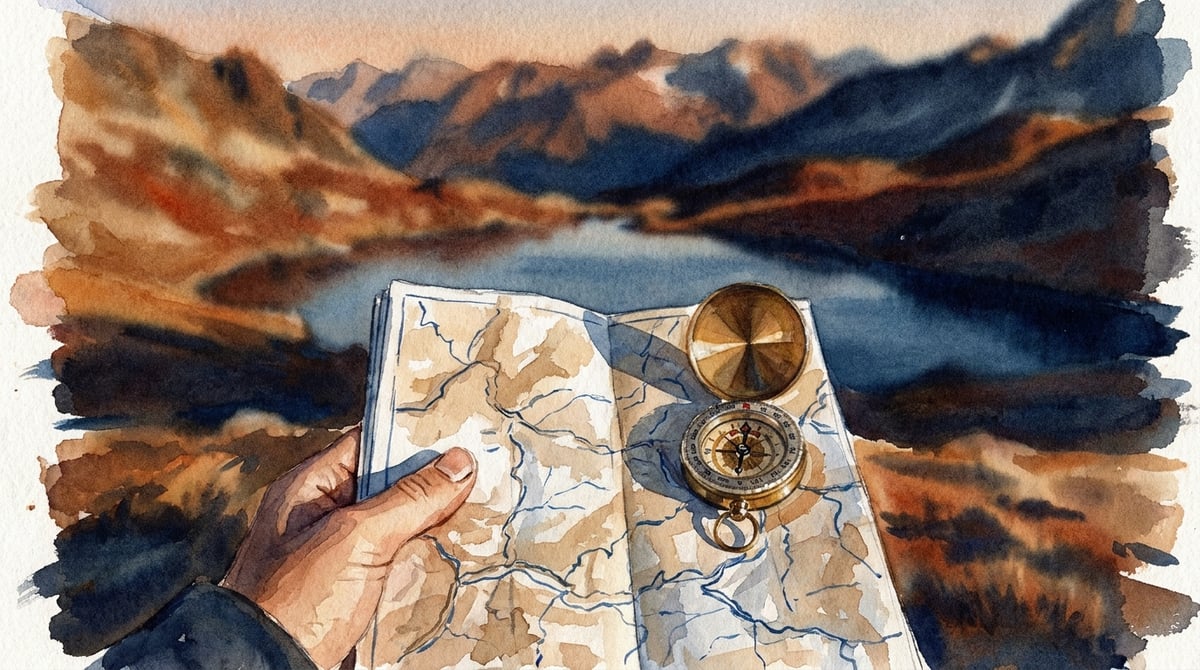
The traditional trio: IGN 1:25000 map, altimeter and compass
- IGN 1:25000 map. Importance: gives a detailed view of the terrain, contour lines, and natural features. Use: route planning, visual orientation, and spotting reference points.
- Altimeter. Importance: helps pinpoint your exact altitude, critical for mountain hiking. Use: compare altitudes shown on the map with those measured on the ground to confirm your position.
- Compass. Importance: essential for orientation when visible landmarks disappear. Use: take bearings, follow a precise direction, and verify your orientation against the map.
Modern tech
-
Dedicated GPS units and GPS watches. Use: follow precise tracks, get real-time location data. Pros: precision and ease of use. Cons: reliant on battery and satellite signal. Can be affected by weather.
-
Mobile apps with IGN base maps.
-
Use: planning and tracking routes, consulting detailed maps.
-
Pros: accessibility and easy updates.
-
Cons: reliant on battery and mobile signal in certain areas.
Summing up
Personally, I rely on a triple system to maximise my mountain safety:
- Planning with AllTrails (web version). Main route: I start by planning my route on the AllTrails web version. The interface is user-friendly and allows precise planning with all the needed detail.
- Syncing to Garmin. GPS watch: once the route is planned, I send it to my Garmin watch via the AllTrails integration. Modern Garmins come with IGN base maps and specific (paid) maps even more precise, for example for the Alps. This becomes my main navigation system during the hike.
- Downloading AllTrails base maps (mobile app). Tech backup system: alongside the Garmin, I download base maps for offline use on the AllTrails app. This serves as a tech backup in case of issues with the GPS watch.
- The traditional trio: IGN 1:25000 map, altimeter and compass. Despite my trust in modern tech, I always carry the traditional trio in my pack. The IGN 1:25000 map gives a detailed view of the terrain, the altimeter helps check my altitude, and the compass makes sure I hold the right bearing even in poor visibility.
Responsibility
6. Safety and the hiker's code
When you head out on a mountain hike, mental preparation and respect for the environment are every bit as critical as physical prep. A few pointers to make sure your experience stays positive and responsible:
- Mental preparation:
- Positive but realistic attitude: approach your hikes with a positive mindset, but stay realistic about your abilities. Overconfidence can lead to reckless decisions. Be ready to make cautious choices and turn back if conditions worsen.
- Making the right calls: learn to read situations and make the right decisions based on your abilities and the conditions. Knowing when to quit or change plans is an essential skill. Humility and caution are your best allies in the mountains.
- Managing stress: hikes can sometimes be stressful, especially when they turn harder than expected. Take the time to stop, breathe deeply, and reassess the situation if needed. Your mental wellbeing is critical for a successful hike.
- Judgement and experience:
- Building judgement: with time and experience, you’ll learn to better understand the mountain, weather conditions, and how to react to unexpected situations. This judgement is essential for avoiding danger and making informed choices.
- Adapt and decide: conditions can change fast in the mountains. Be ready to adapt your plans if the original route becomes too risky. If the weather deteriorates, it’s sometimes better to turn back or change your route to keep yourself safe.
- Respect for nature:
- Leave no trace: protecting the environment is a shared responsibility. Don’t leave any waste behind and avoid creating new paths. Stick to marked trails and don’t cut through vegetation to avoid erosion.
- Preserve natural beauty: nature is precious and fragile. Don’t mark trees or rocks. Don’t leave traces of your passage, visible or not. Untouched places can be destroyed by overuse and irresponsible behaviour.
- Respect local rules: follow local rules and regulations about conservation. If signs indicate restrictions or recommendations, respect them carefully.
- A short story:
As a reminder, here’s a quote I found in a bivouac hut in the Pyrenees that nicely captures the spirit to adopt:
“If you’re a mountain person, you’re at home here. If you’re an idiot, write your name on the wall.”
This message underlines the importance of responsibility and respect in the mountains. Be a decent practitioner and do your best to protect the places you love.
But above all: leave no trace of your passage.
Sustaining effort
7. Food and hydration

A vital issue at altitude
When you head out on a hike or via ferrata with Hiking3000, managing water is as strategic a point as your navigation. The classic mistake is either not carrying enough water, or carrying too much and needlessly overloading your pack.
Understanding where and how to resupply saves a lot of trouble. Because once you’re committed to a ridge in midsummer with no water source in sight, every drop counts.
Hydration bladder vs water bottle: field feedback
- Easy access to water without stopping,
- Weight distribution on your back,
- No more excuse for not drinking regularly.
How much water to carry?
It depends on duration, elevation, heat, and above all, available water points.
Where to find drinking water?
In the mountains, several sources are possible:
- Taps or fountains in refuges or villages,
- Springs marked on the IGN map,
- Streams from glacial melt,
- High-altitude lakes (to be treated).
But beware: the presence of water doesn’t guarantee it’s safe to drink. A clear stream can be contaminated by livestock or dead animals upstream.
Should you treat water? Yes, except in exceptional cases
As soon as you draw water in the wild, it’s strongly recommended to treat it.
Options:
- Purification tablets (like Micropur): effective but chlorine taste.
- Pump or straw filters (Sawyer, Katadyn, Lifestraw…): fast and reliable.
- UV sterilisers (like SteriPEN): effective against viruses, but need batteries or charge.
Personal note
When I see the water coming straight from a glacier, I sometimes drink it untreated. I’ve never been sick, but I always make sure it comes from direct melt, with no risk of contamination by livestock or carcasses further down the valley. It’s an exception, not a rule to generalise.
In short
- Analyse your route and the available water sources,
- Go for a quality hydration bladder (minimum 2L),
- Always carry a purification system,
- If no reliable water point: top up with bottles,
- Don’t drink directly without treatment, except in controlled glacial cases.
Bonus: my hydration system
Here’s how I organise personally:
- 2L hydration bladder as the main reserve,
- Filter for wild resupply,
- Advance analysis of maps and routes to locate water sources,
- Plastic bottle if I know the route is dry.
Summing up
Your body will thank you, especially on the last metres of elevation.
Two schools
8. Mountaineer or trail runner?
In the mountains, you see two main trends in style and gear: the “mountaineer” style and the “trail runner” style. Each approach has its specifics and advantages depending on the type of activity and the conditions you face.
Mountaineer style
- Gear: mountaineer-style practitioners favour high-cut boots for better support, sturdy hiking trousers, and a fully loaded pack with everything needed for an extended outing. This pack often includes extra clothing layers, food, water, and safety gear.
- Philosophy: inspired by the stories of high-mountain guides and alpinists, these hikers prepare for every eventuality. They’re aware of the risks inherent to the mountains and prefer to be over-equipped than under-equipped. This approach lets them handle unexpected conditions, like weather changes or emergency situations.
- Objectives: mountaineers tend to take their time to enjoy the view, take breaks, and rest. They appreciate the contemplative aspects of hiking, like reading a book or simply admiring the landscape. Their pace is generally slower, and they’re prepared for extended stays in the mountains.
Trail runner style
- Gear: trail runners go for lightweight low-cut shoes, minimalist packs with just enough for hydration and an energy bar. Their gear is built to be light and agile, making for speed and mobility on trails.
- Philosophy: this style is often associated with a sporty, fast approach to the mountains. Trail runners focus on performance and efficiency, aiming for fast times and minimising pack weight. Their gear is generally suited to races or shorter outings.
- Objectives: trail runners tend to descend faster, since they’re less equipped for difficult weather or long stays. They prioritise speed and endurance over duration and the hiking experience.
Choosing your style
- For high-mountain hikes: the mountaineer style is generally more appropriate, especially for long routes, high altitude, or off-trail sections. Preparation and safety are essential priorities, and a complete gear setup lets you handle surprises better.
- For races or short outings: the trail runner style can be ideal for faster, less demanding routes. It’s perfect for those looking for sporty challenges and wanting to minimise their load while maintaining high mobility.
Summing up
In the end, the choice between these styles depends on your personal objectives, the nature of the hike, and the specific conditions you expect. Whatever happens, preparation and caution are critical, whichever style you adopt.
Frequently asked questions
What we're asked most often
At what altitude do we start talking about alpine hiking? +
There's no absolute threshold, but generally, above 2500 to 3000 metres, the practice moves beyond classic hiking: thinner oxygen, more changeable weather, more mineral terrain. It's also the altitude at which the first symptoms of acute mountain sickness appear in non-acclimatised people.
Do you absolutely need a guide for a hike at 3000m? +
Not absolutely. Many 3000+ summits are accessible to a well-prepared confirmed hiker. But for committing outings (exposed sections, persistent snowfield, glacier), a guide remains the safest option until you have the experience. The site's articles always specify the level of commitment.
What's the difference between FFRandonnée grading and the Swiss SAC scale? +
The FFRandonnée uses a 3-criteria rating (Effort/Technical difficulty/Risk, 1-5 each). The Swiss Alpine Club (SAC/CAS) uses a single T1 to T6 scale that blends commitment and technicality. Both systems coexist and complement each other; Hiking3000 mainly uses the FFRandonnée for its granularity.
How far ahead should you prepare an alpine hike? +
For physical preparation: several months if you're starting from zero. For logistics (refuge booking, fine weather checks, trip planning): 1-3 weeks. The evening before: final read of the weather and recent field reports. The morning of: weather check and go/no-go decision.
What minimum gear should you carry for a day outing? +
Suitable boots, a 25-30L pack, windproof jacket + insulation (3-layer system), water (1.5-2L minimum), food, map and compass, headtorch, first-aid kit, charged phone, survival blanket. Full detail in the gear article for 3000m hikes.
What to do in case of sudden weather change at altitude? +
First rule: don't push. Descend below the ridge if a storm approaches, move away from ridges and high points. Don't shelter under an isolated tree or in a shallow cave (lightning). The site's safety articles detail the reflexes to have.
"Not an app. A journal.
Not a GPX track, a route."